Redirections
How to enable and configure redirections in your Vactory project
Redirects are essential for guiding users and search engines to the correct content, especially when URLs change or content is moved. This guide will show you how to enable and configure redirections in your Vactory project.
Prerequisites
Before you can use redirections, you need to ensure the redirects file exists in the correct location:
your-project/└── public/ └── redirects/ └── redirects.csv # This file must existImportant: The
redirects.csvfile must be created manually in the/public/redirects/directory before you can use the redirections feature. If this file doesn't exist, you'll receive an error when trying to upload redirections.
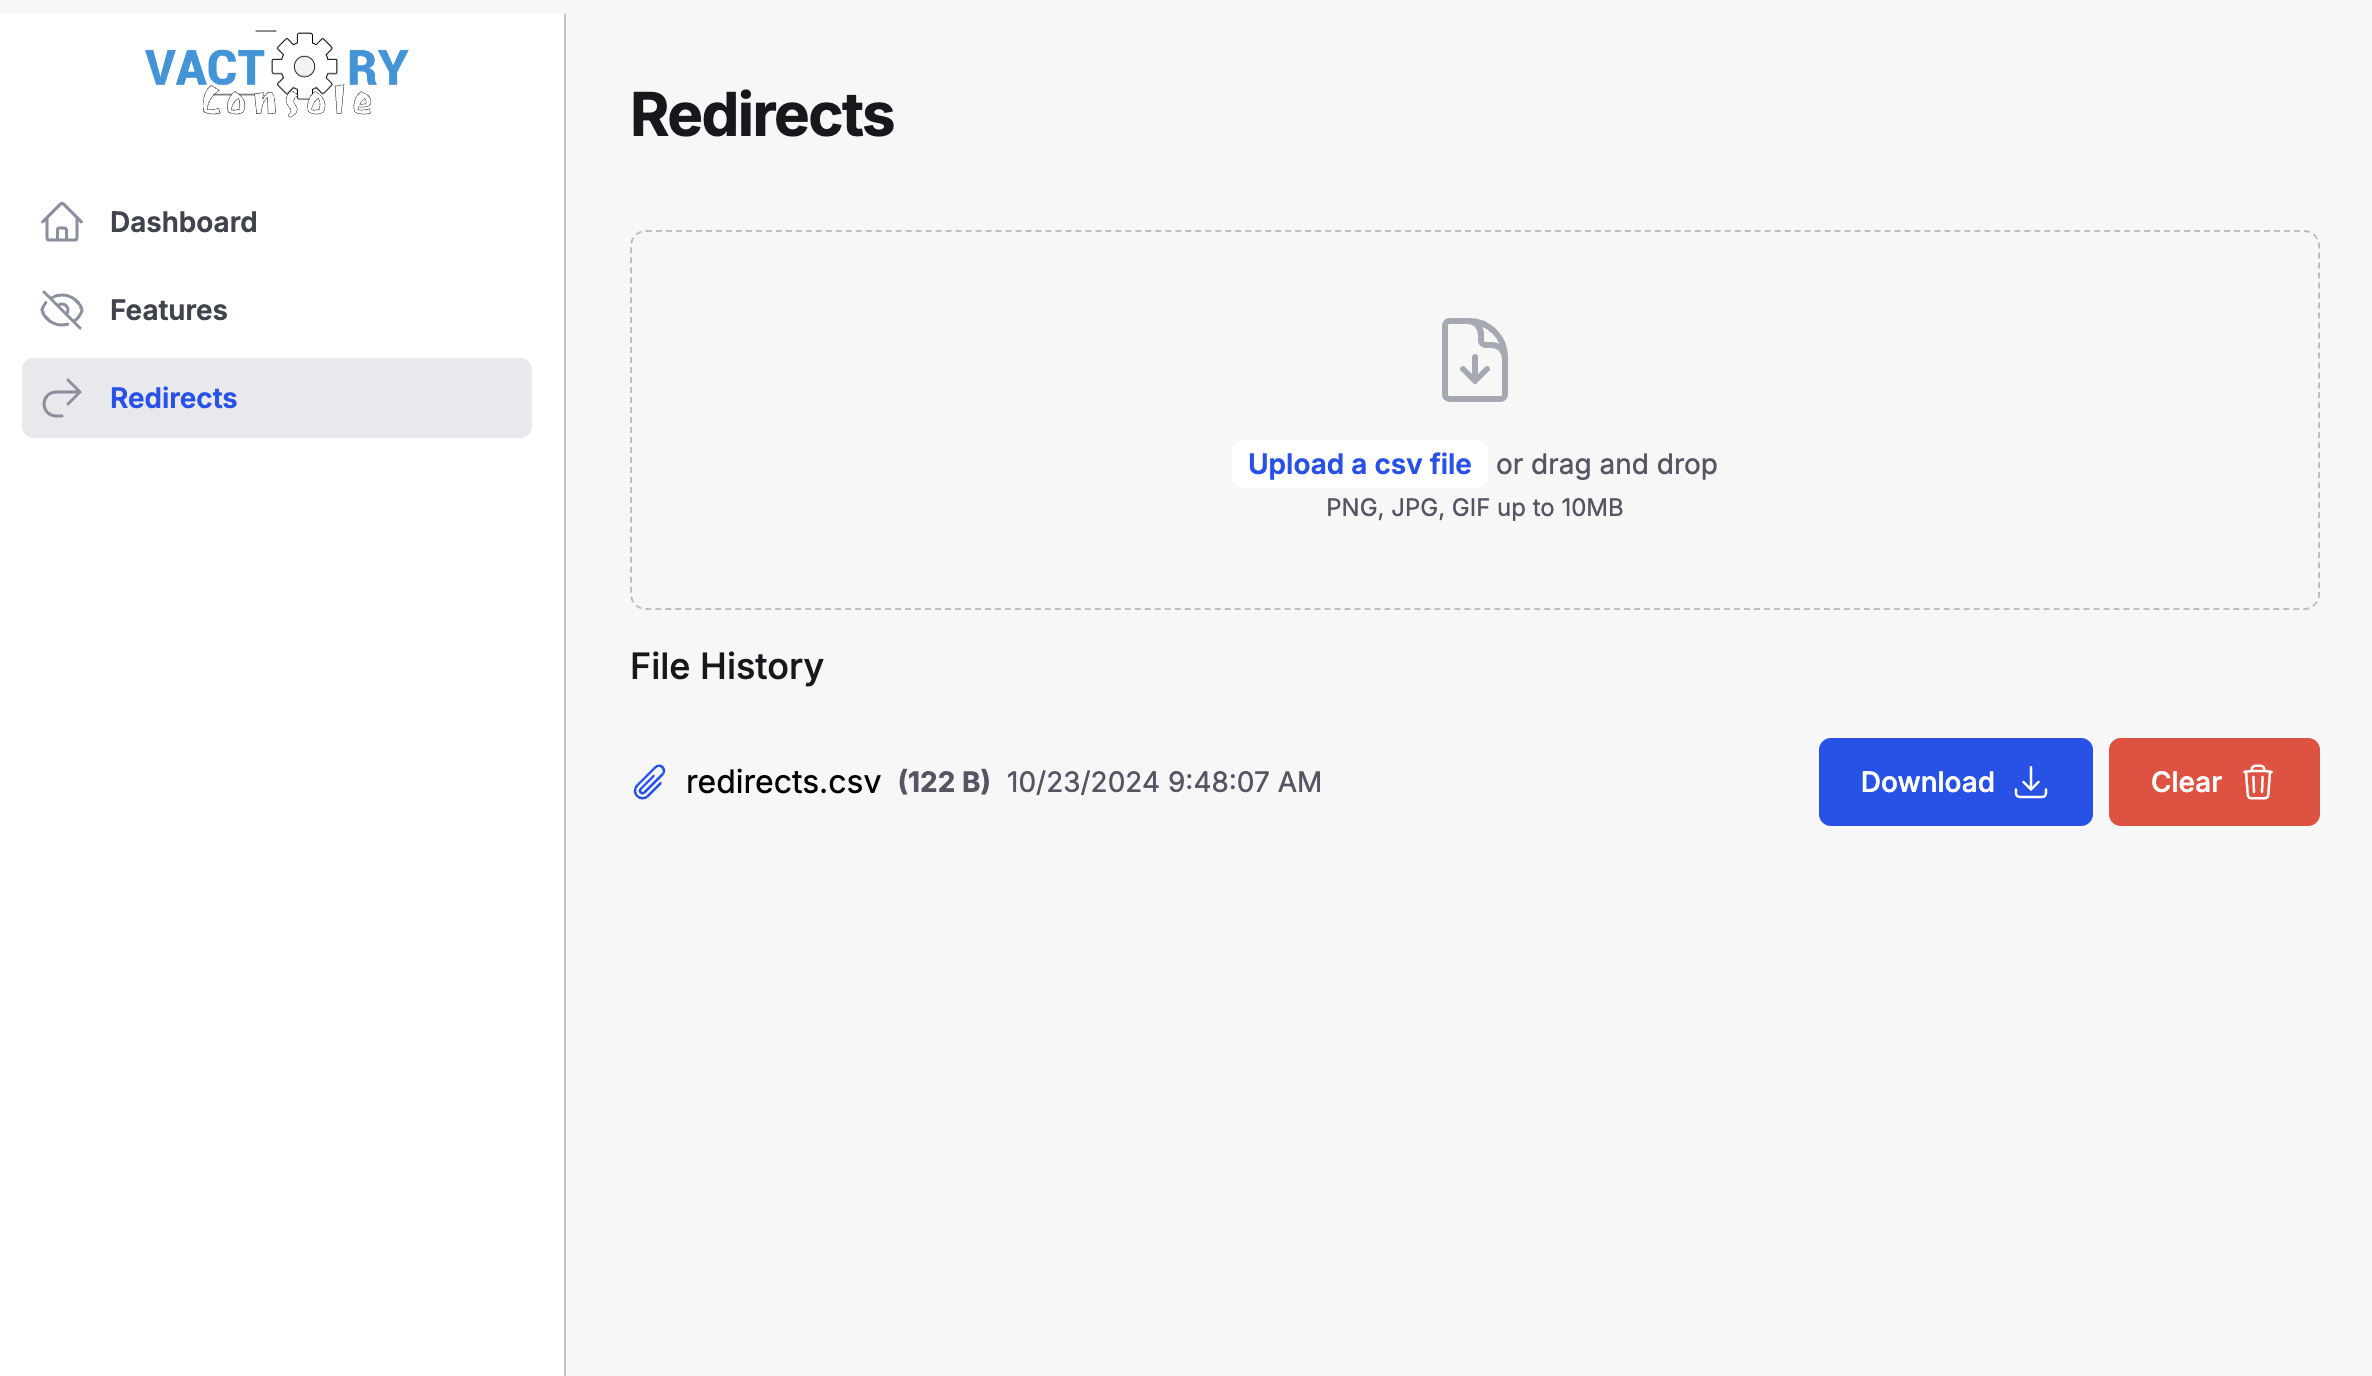
Accessing the Redirections Interface
To manage redirections, navigate to the Admin Console on your website's front end using:
/fr/admin/redirectsThis will take you to the redirections interface:
Setting Up Redirections
1. Create the Required File Structure
First, ensure you have the correct file structure:
- Create a
redirectsdirectory inside your project'spublicfolder if it doesn't exist - Create an empty
redirects.csvfile inside theredirectsdirectory
2. Prepare Your Redirections CSV File
Your CSV file that you gonna upload should contain all the redirections you want to implement. Each line represents a single redirection, with the source URL and destination URL separated by a comma.
Example format:
./redirects.csv
/en/from-this,/en/to-this/en/old-news,/en/news/all?page=2&sort=descImportant Notes:
- File Location: The
redirects.csvfile must exist at/public/redirects/redirects.csv - Relative Paths: URLs should not include the domain name; only use paths starting with /
- No Spaces: Avoid spaces between URLs and commas
- File Creation: If you receive an error stating "Unable to find the file 'redirects.csv'", you need to create the file manually at the specified location
Managing Existing Redirections
Before uploading a new CSV file:
- Check for existing redirections in the history section
- Download existing redirections if present
- Review the contents to avoid accidentally overwriting necessary redirections
Uploading or Clearing Redirections
You have two options when managing redirections:
Option 1: Clear Existing Redirections
To remove all current redirections:
- Use the "Clear" button in the interface
- Confirm the action (this cannot be undone)
Option 2: Upload New Redirections
To add or update redirections:
- Ensure the
redirects.csvfile exists in the correct location - Click the upload button and select your prepared CSV file
- Click "Save" to apply the new redirections
Troubleshooting
Common Issues
"Unable to find redirects.csv" Error:
- Verify that the file exists at
/public/redirects/redirects.csv - Create the file manually if it doesn't exist
- Ensure proper file permissions
- Verify that the file exists at
CSV Formatting Errors:
- Check for proper comma separation
- Ensure no spaces around commas
- Verify all paths start with /
Cache Issues:
- Changes may not appear immediately due to caching
- Clear your browser cache or test in a private browsing window
Best Practices
- Always keep a backup of your previous redirections
- Test redirections after making changes
- Monitor error logs for potential issues
- Use relative paths consistently