Deployment using docker
Before initiating the deployment process, it is beneficial to understand the purpose and functionality of both Drone and Docker Compose.
Drone and Docker Compose play important roles in the CI/CD (Continuous Integration/Continuous Deployment) process.
Drone is a popular CI/CD platform that helps automate the build, test, and deployment of applications. It integrates with version control systems, allowing developers to define pipelines and workflows to build, test, and deploy their code automatically. Drone facilitates the orchestration of these CI/CD processes and provides features like parallel testing, artifact management, and deployment to various environments.
Docker Compose, on the other hand, is a tool that simplifies the deployment of multi-container applications. It allows you to define and manage your application's services, dependencies, and network configurations using a declarative YAML file. Docker Compose enables the creation of isolated and reproducible environments, making it easier to develop and deploy applications consistently across different environments.
Drupal App
Env file
Copy
.envto your env file (example.env.staging).Fill the Environment variables with the accurate values.
Docker compose file
Copy
docker-compose.prod.ymlto your docker compose file (exampledocker-compose.staging.yml)Update the value of the
env_fileproperty within the services section of your Docker Compose file with the correct filename of your environment file.
env_file: .env.stagingDrone file
Copy
.drone.ymlto your drone file (example.drone.staging.yml).Update the values of the
--project-name,--env-fileproperties, and thedocker-compose.ymlfile according to your specific requirements.
Change this :
docker-compose --project-name vactory_drupal -f docker-compose.prod.yml --env-file=.env.prod buildTo :
docker-compose --project-name my_project_drupal -f docker-compose.staging.yml --env-file=.env.staging buildChange this :
docker exec vactory_php drush crTo :
docker exec PROJECT_NAME_php drush cr- Save changes.
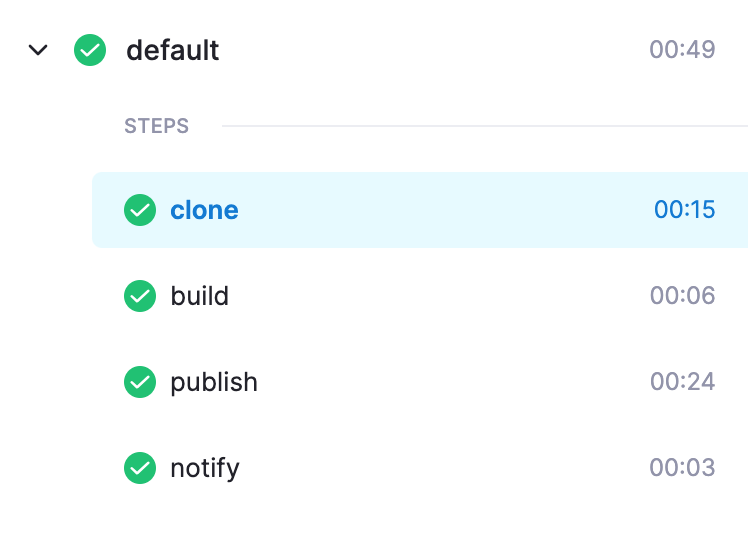
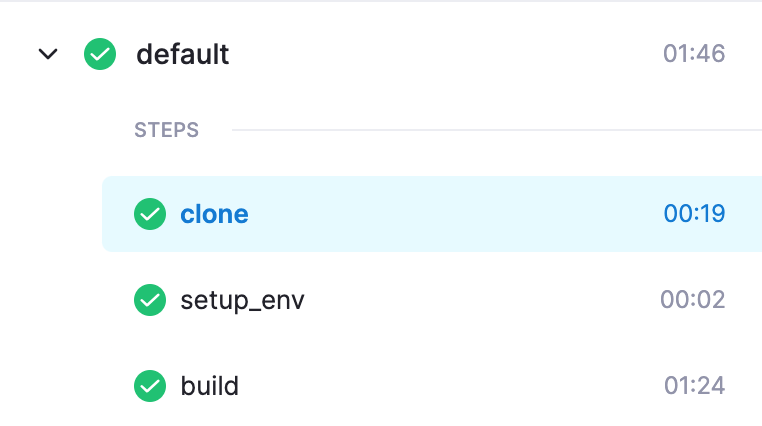
Visit your Drone CI instance.
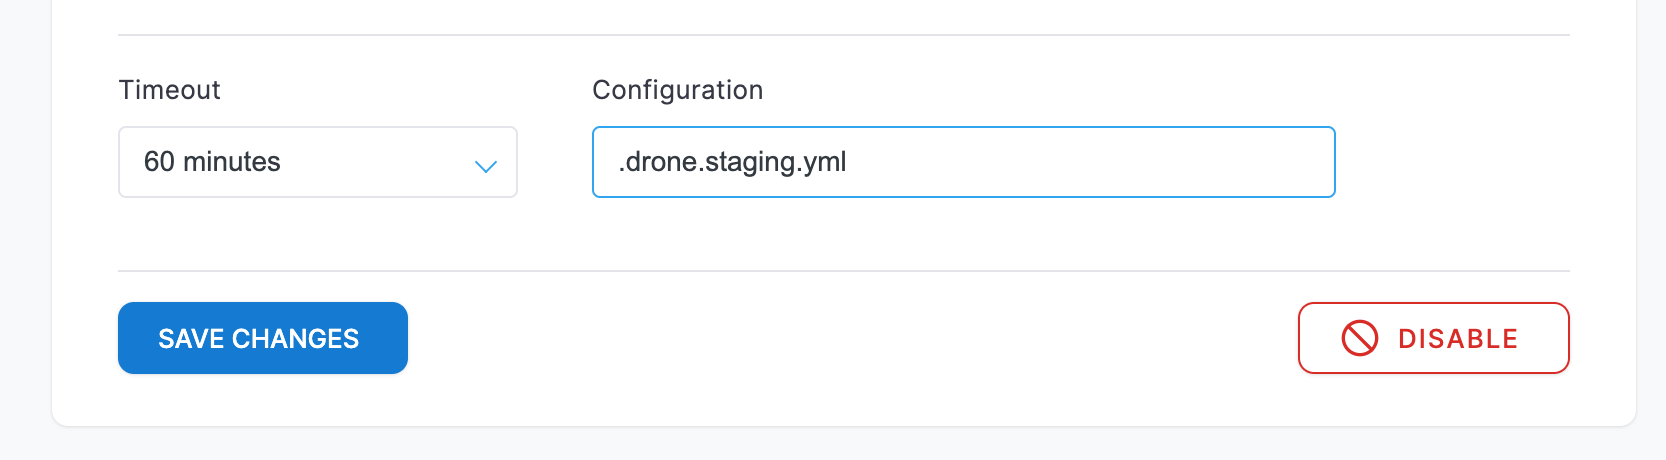
First, find the repository using the search bar, On the settings page :
Modify the configuration input by specifying your .drone file.
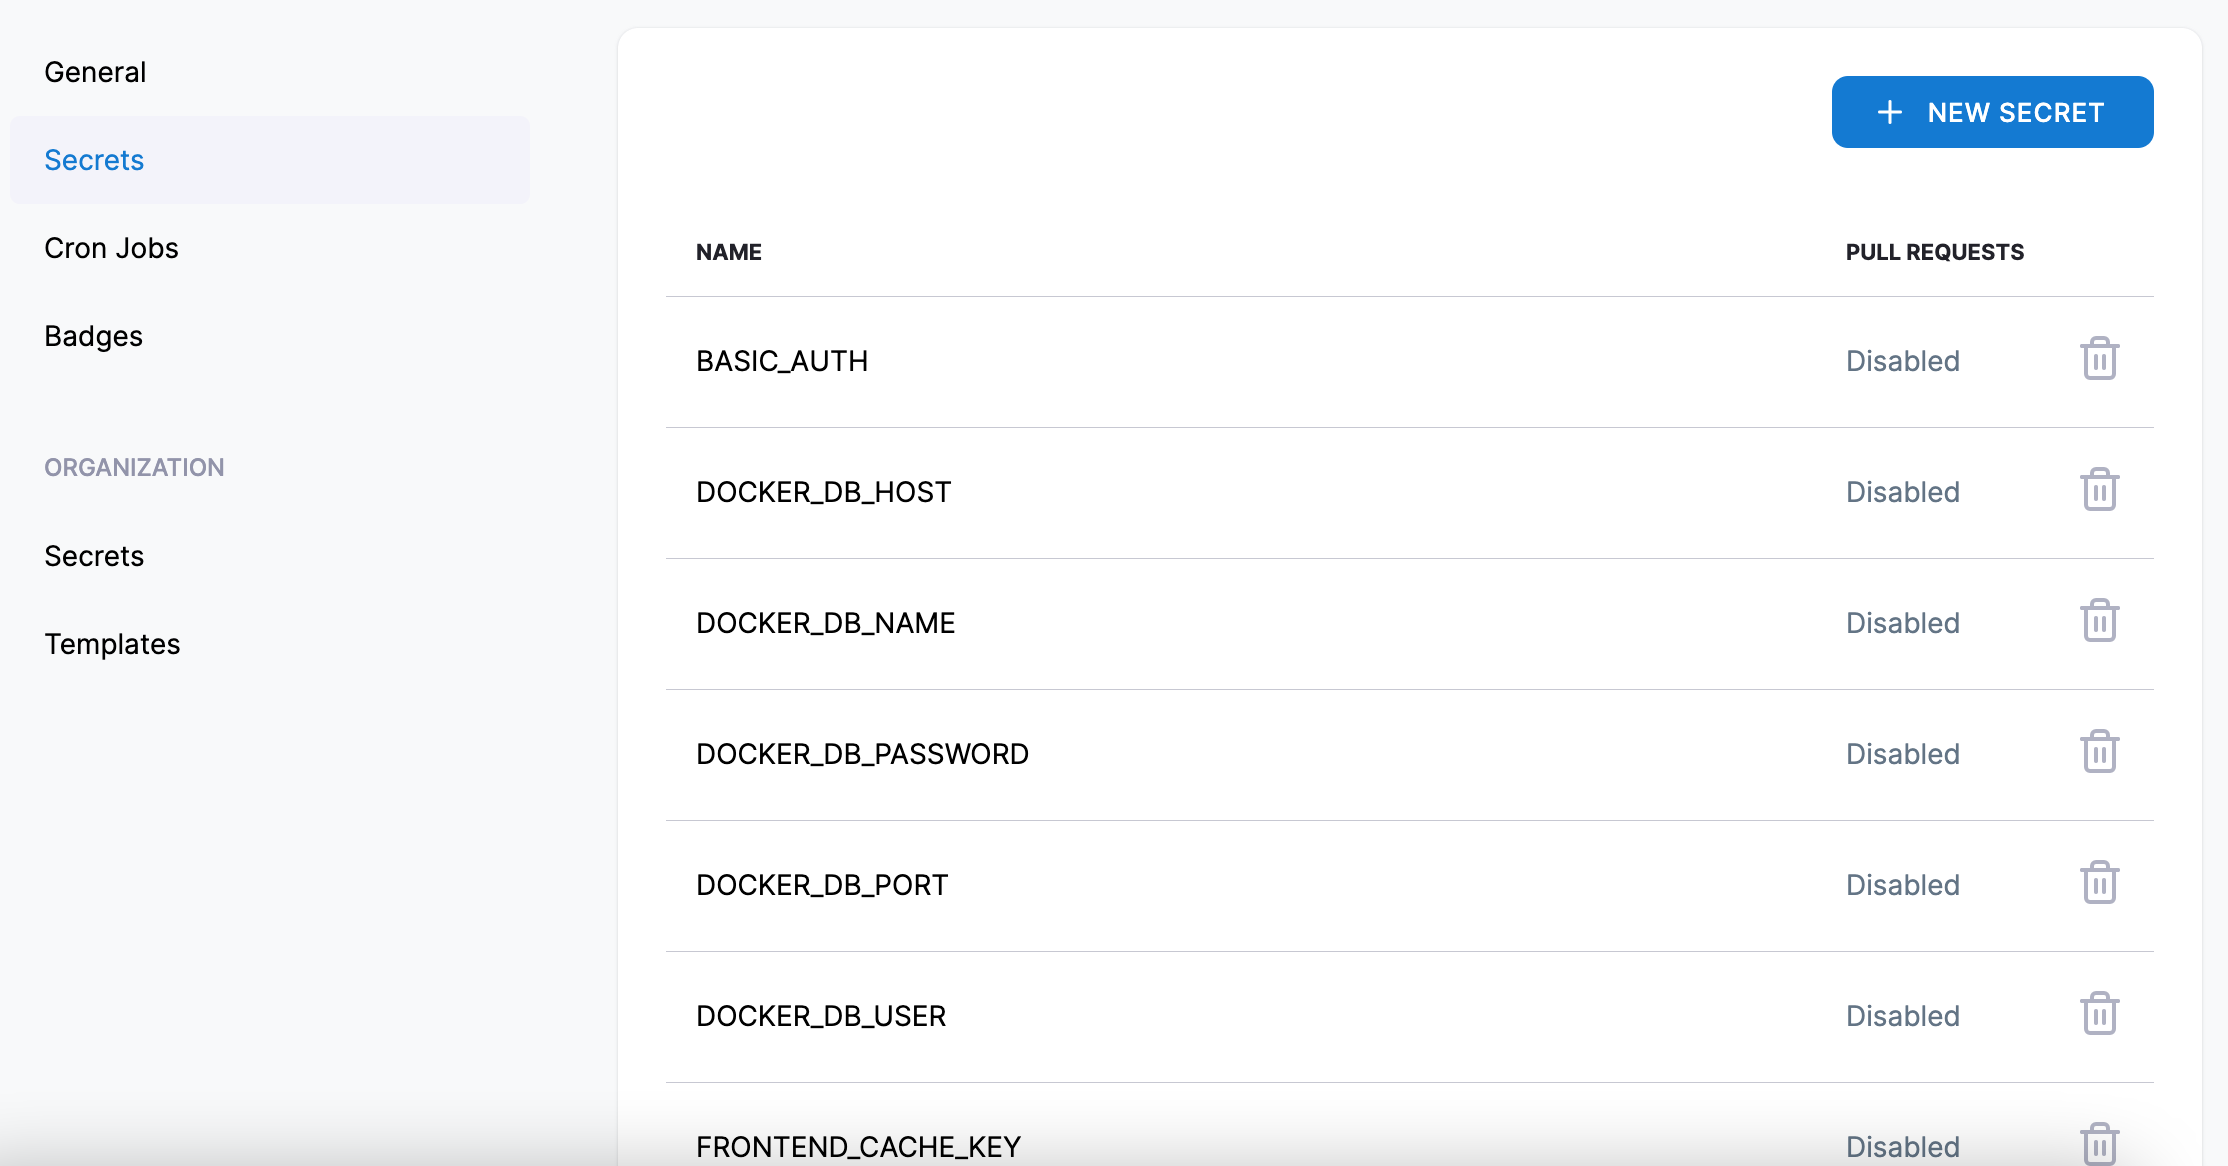
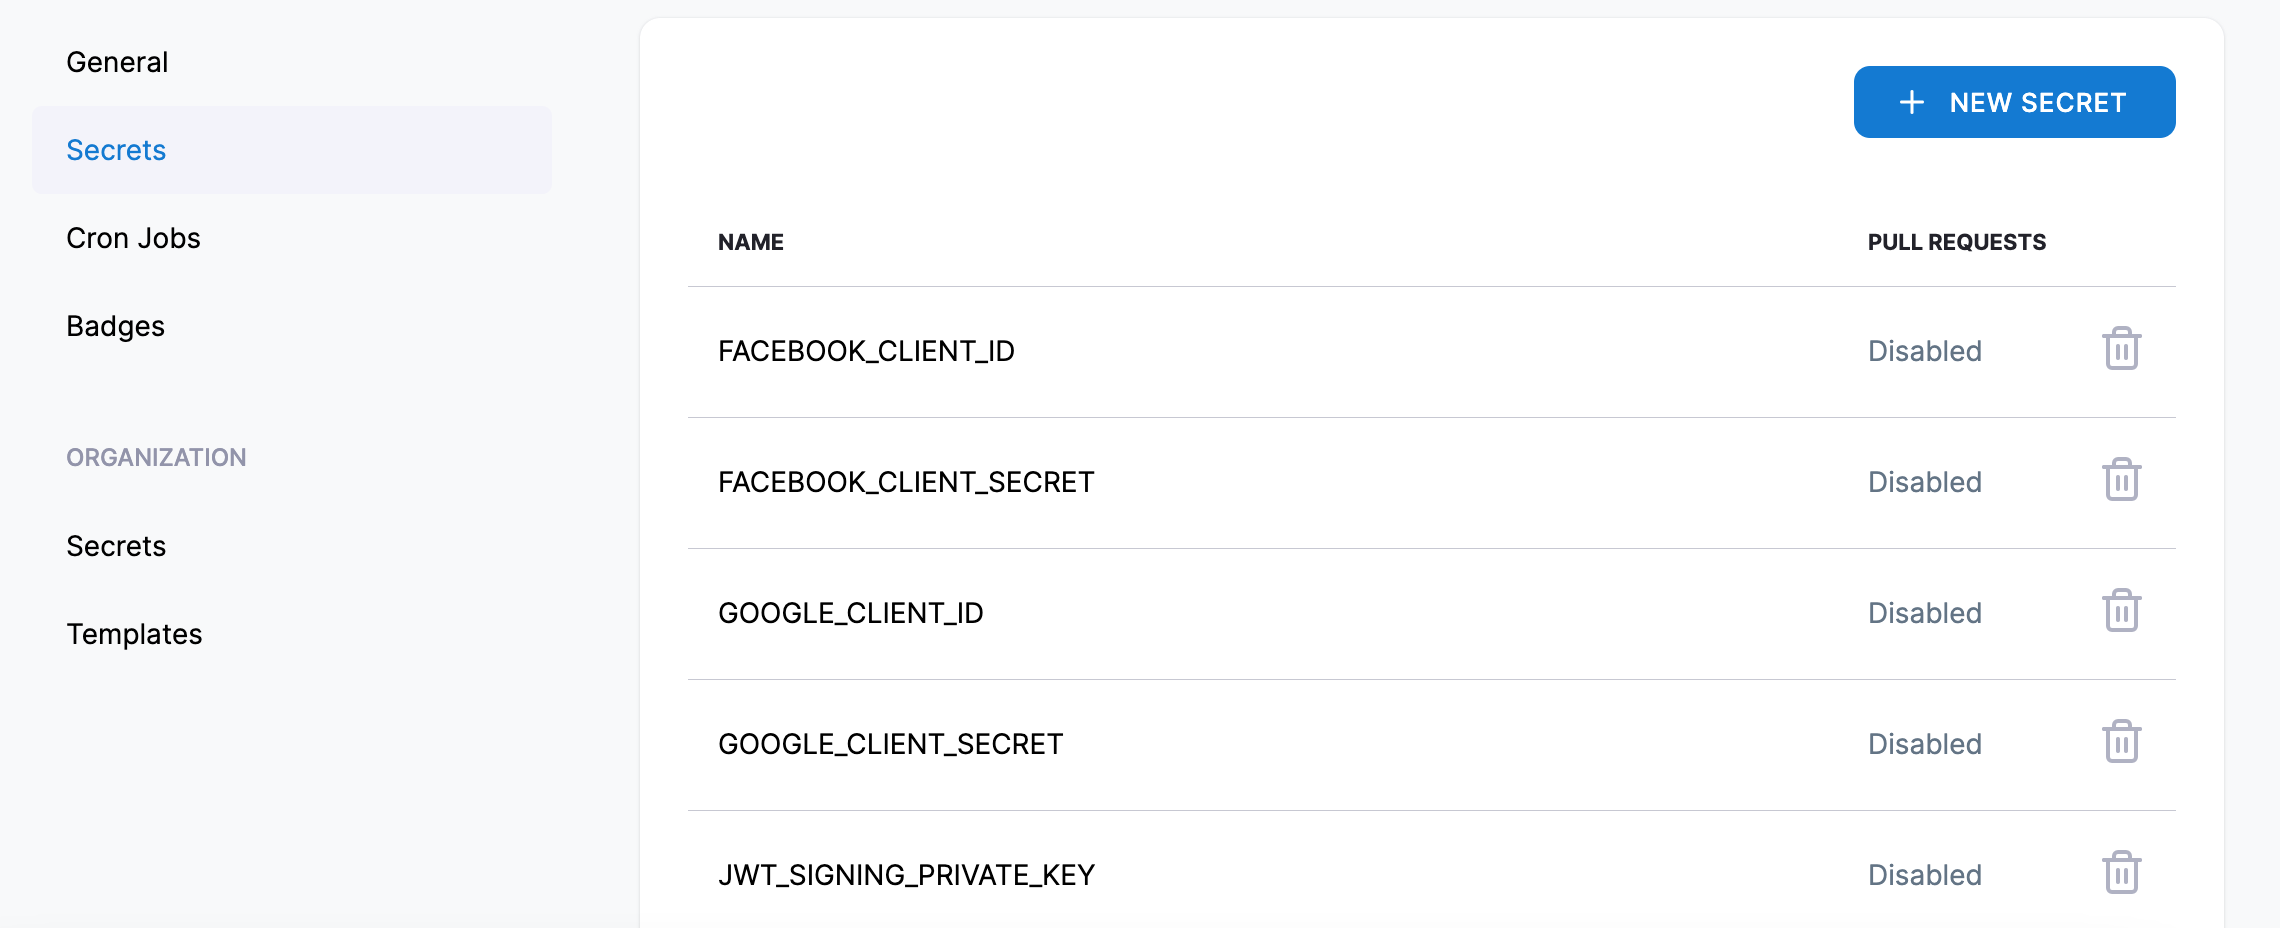
Next, add secrets(sensitive information required for build steps such as DB env vars, memcached vars, pma vars ...)
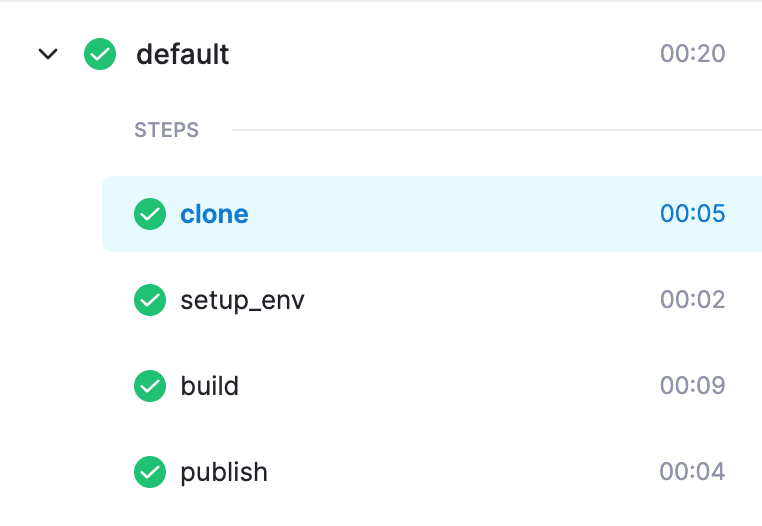
Now commit your changes, and push to the repository, it will trigger a new build on Drone CI.
Although the build has passed successfully, the code has not been updated on the server yet. One more crucial step is required, which involves promoting the build.
NextJs App
Dockerfile
Copy
.Dockerfile.stagingto your Dockerfile file.Replaced all occurrences of
starterby your project name.
Docker compose file
Copy
docker-compose.ymlto your docker compose file.Replaced all occurrences of
vactory(on containers name, traefik rules name) by your project name.Make sure you changed the
Hoston treafik rules by your host.
Nginx Default Config
Edit the nginx default.conf file :
./.docker/nginx/default.conf
upstream node_app_backend { server frontend_container_name:port; keepalive 32; # keepalive_requests 200;}Replace :
- frontend_container_name: Your front end container name.
- port: The port specified in the Dockerfile for your frontend application, which is exposed for external access.
Drone file
Copy .drone.yml to your drone file.
Update the values of the env variables, --project-name, and the docker-compose.yml file according to your specific requirements.
Save changes.
Visit your Drone CI instance.
First, find the repository using the search bar, On the settings page :
Modify the configuration input by specifying your .drone file.
Next, add secrets(sensitive information required for build steps such as DB env vars, memcached vars, pma vars ...)
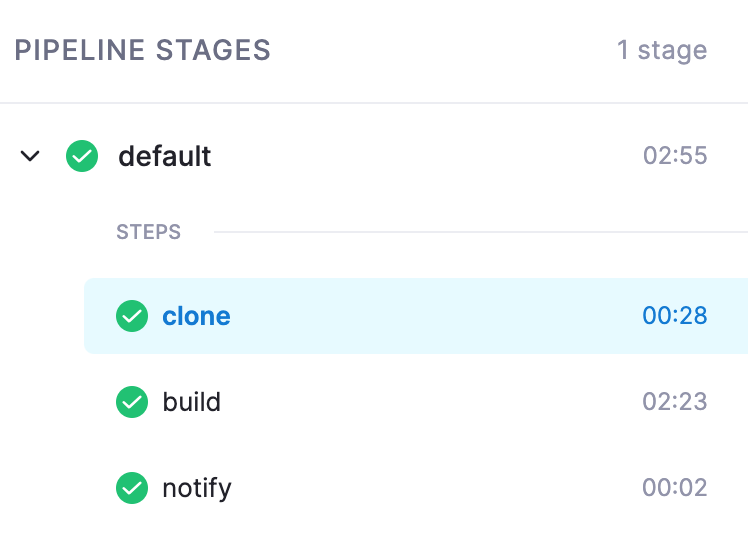
Now commit your changes, and push to the repository, it will trigger a new build on Drone CI.
Although the build has passed successfully, the code has not been updated on the server yet. One more crucial step is required, which involves promoting the build.