Static Templates
Introduction to Static Templates
This guide explains how to implement and use static templates in your Vactory Next.js project.
Creating a Backend Widget
First, create a custom backend widget in Drupal.
Reference: https://voidagency.gitbook.io/factory/developpeur-frontend/dynamic-field
Here's an example implementation:
./modules/custom/doc_v4_df_examples/news/widgets/content-text-image-right/settings.yml
name: 'Content Text & Image Right'multiple: FALSEcategory: 'Doc V4'enabled: TRUEfields: title: type: text label: 'Titre' description: type: text_format label: 'Description' options: '#format': 'full_html' image: type: image label: 'Image' options: '#required': TRUECongratulations! You've created your first template structure in Drupal.
Creating a Page with Your Template
Now, create a page (vactory_page) using this template in Drupal.
When you try to access the page at http://localhost:3000/fr/created_page, you'll see this error:

This is expected behavior. The warning indicates that the template was successfully injected into the page, but Next.js doesn't know how to display it yet.
Creating the Frontend Component
To resolve this warning, you need to create a mapping file in Next.js that will render the data from Drupal.
Create a new React component in the components/widgets directory:

A complete mapping file should look like this:
./components/widgets/contrib/examples/SimpleContentWidget.jsx
export const config = {    id: "doc_v4_df_examples:content-text-image-right",}
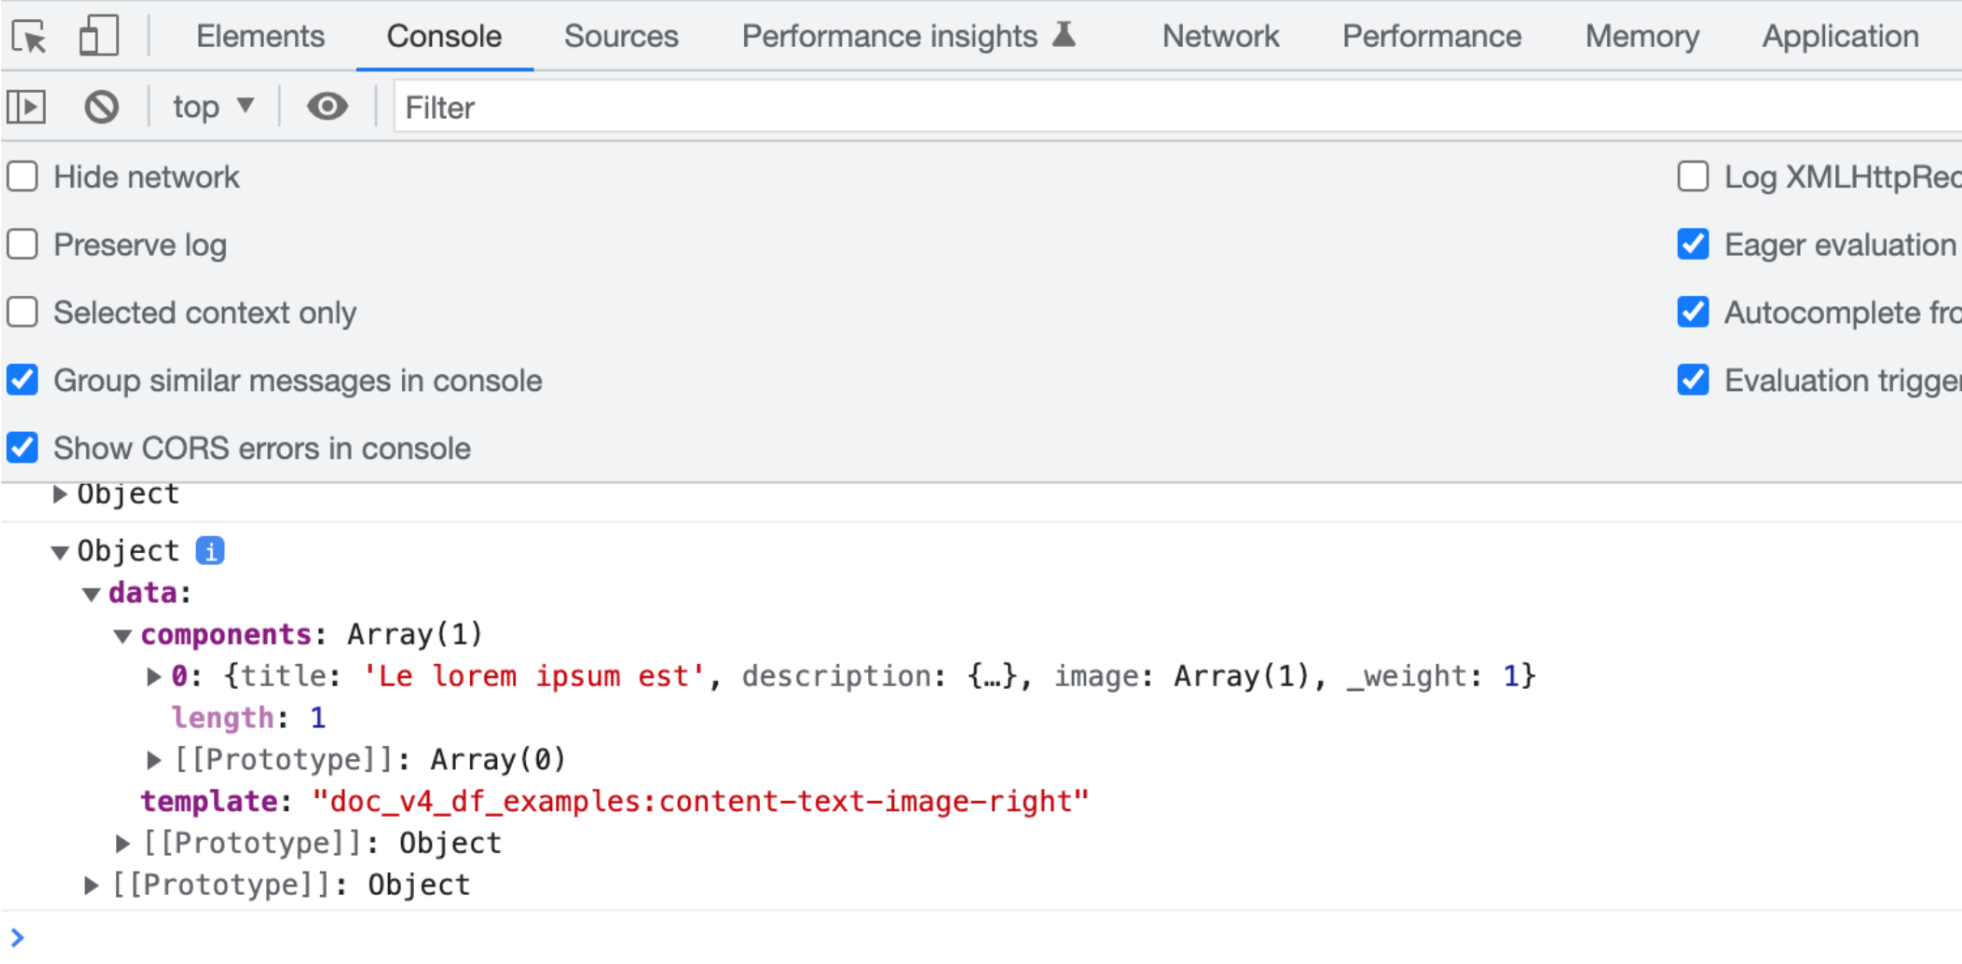
const SimpleContentWidget = ({data}) => {    console.log({data})    return <>My super mapping widget</>}
export default SimpleContentWidget
Understanding the Widget Configuration
The key element in this component is the config constant, which creates the mapping between the Drupal widget and the frontend component.
Testing the Component
After creating the mapping file, restart your Next.js application for the changes to take effect.

Once the application restarts, refresh your page, and you should see your widget appear:

Styling the Component
With some additional JSX and styling, your widget can be transformed into a proper UI component:

Congratulations! You've successfully created and implemented your first static template widget.
